First steps
This chapter will lead you through typical first steps on our platform:
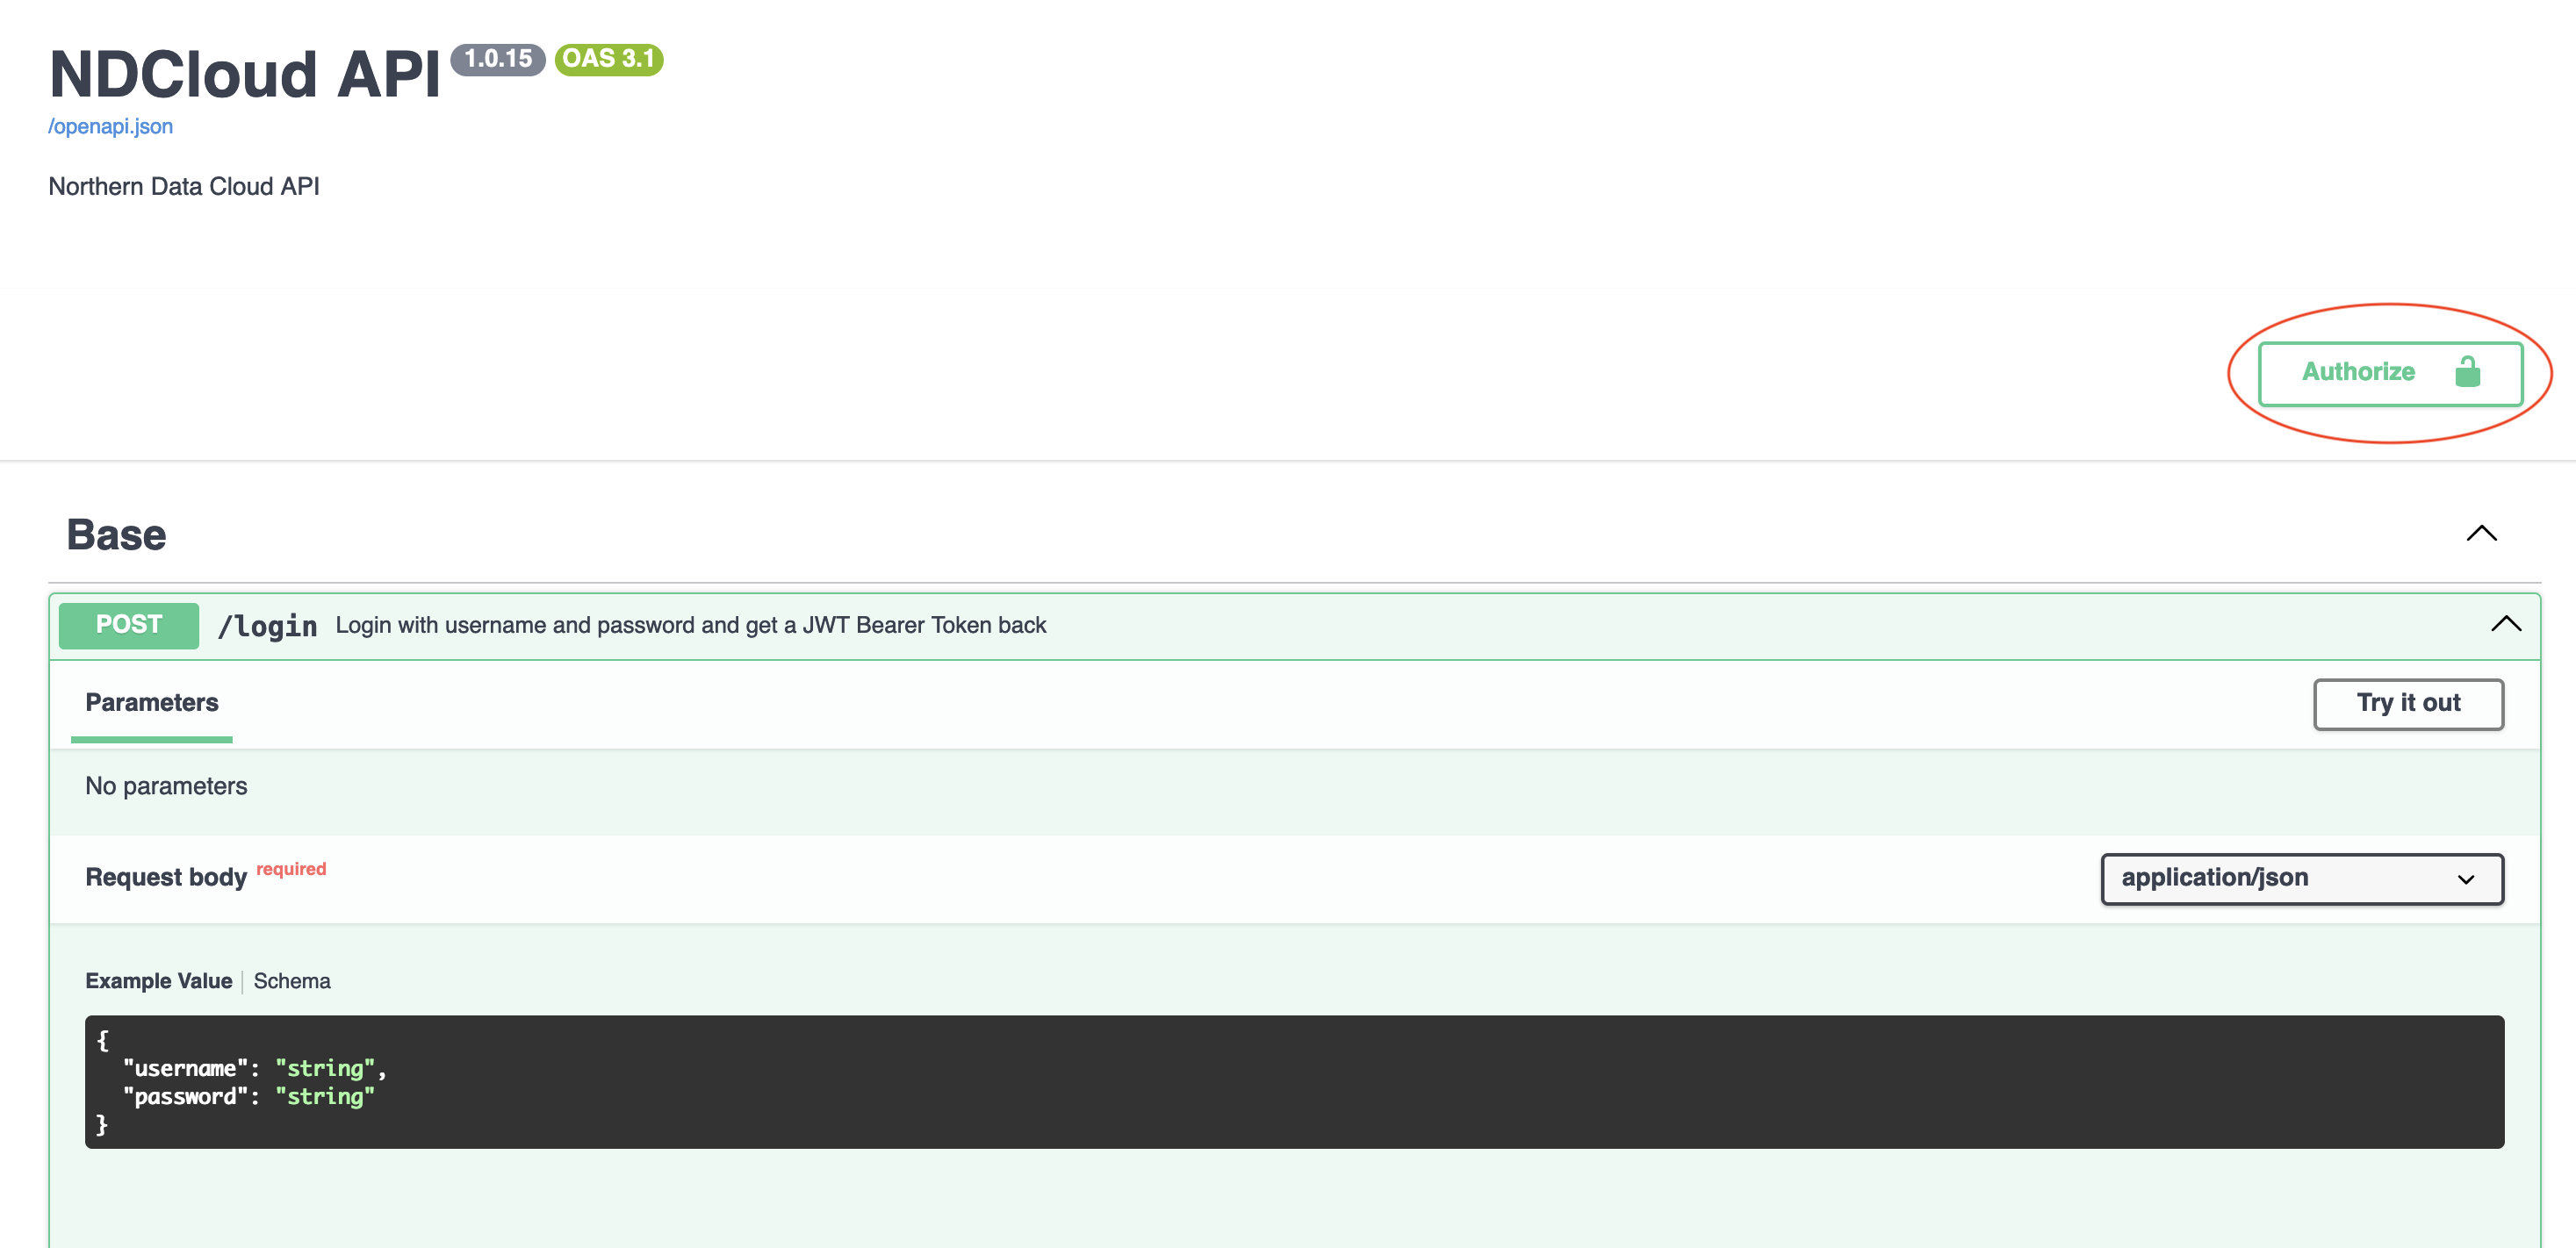
Authorize to the Swagger UI
Retrieve your Baerer token from https://login.northerndata.tech following the documentation of Okta, our identity provider utilized.
Upload an ssh-key
For Windows users: Before you can continue, make sure to install either PuTTY or the ssh client on your machine. A guide with installation instructions for the latter can be found via this link!
For Mac & Linux users: Your terminal already supports ssh connections!
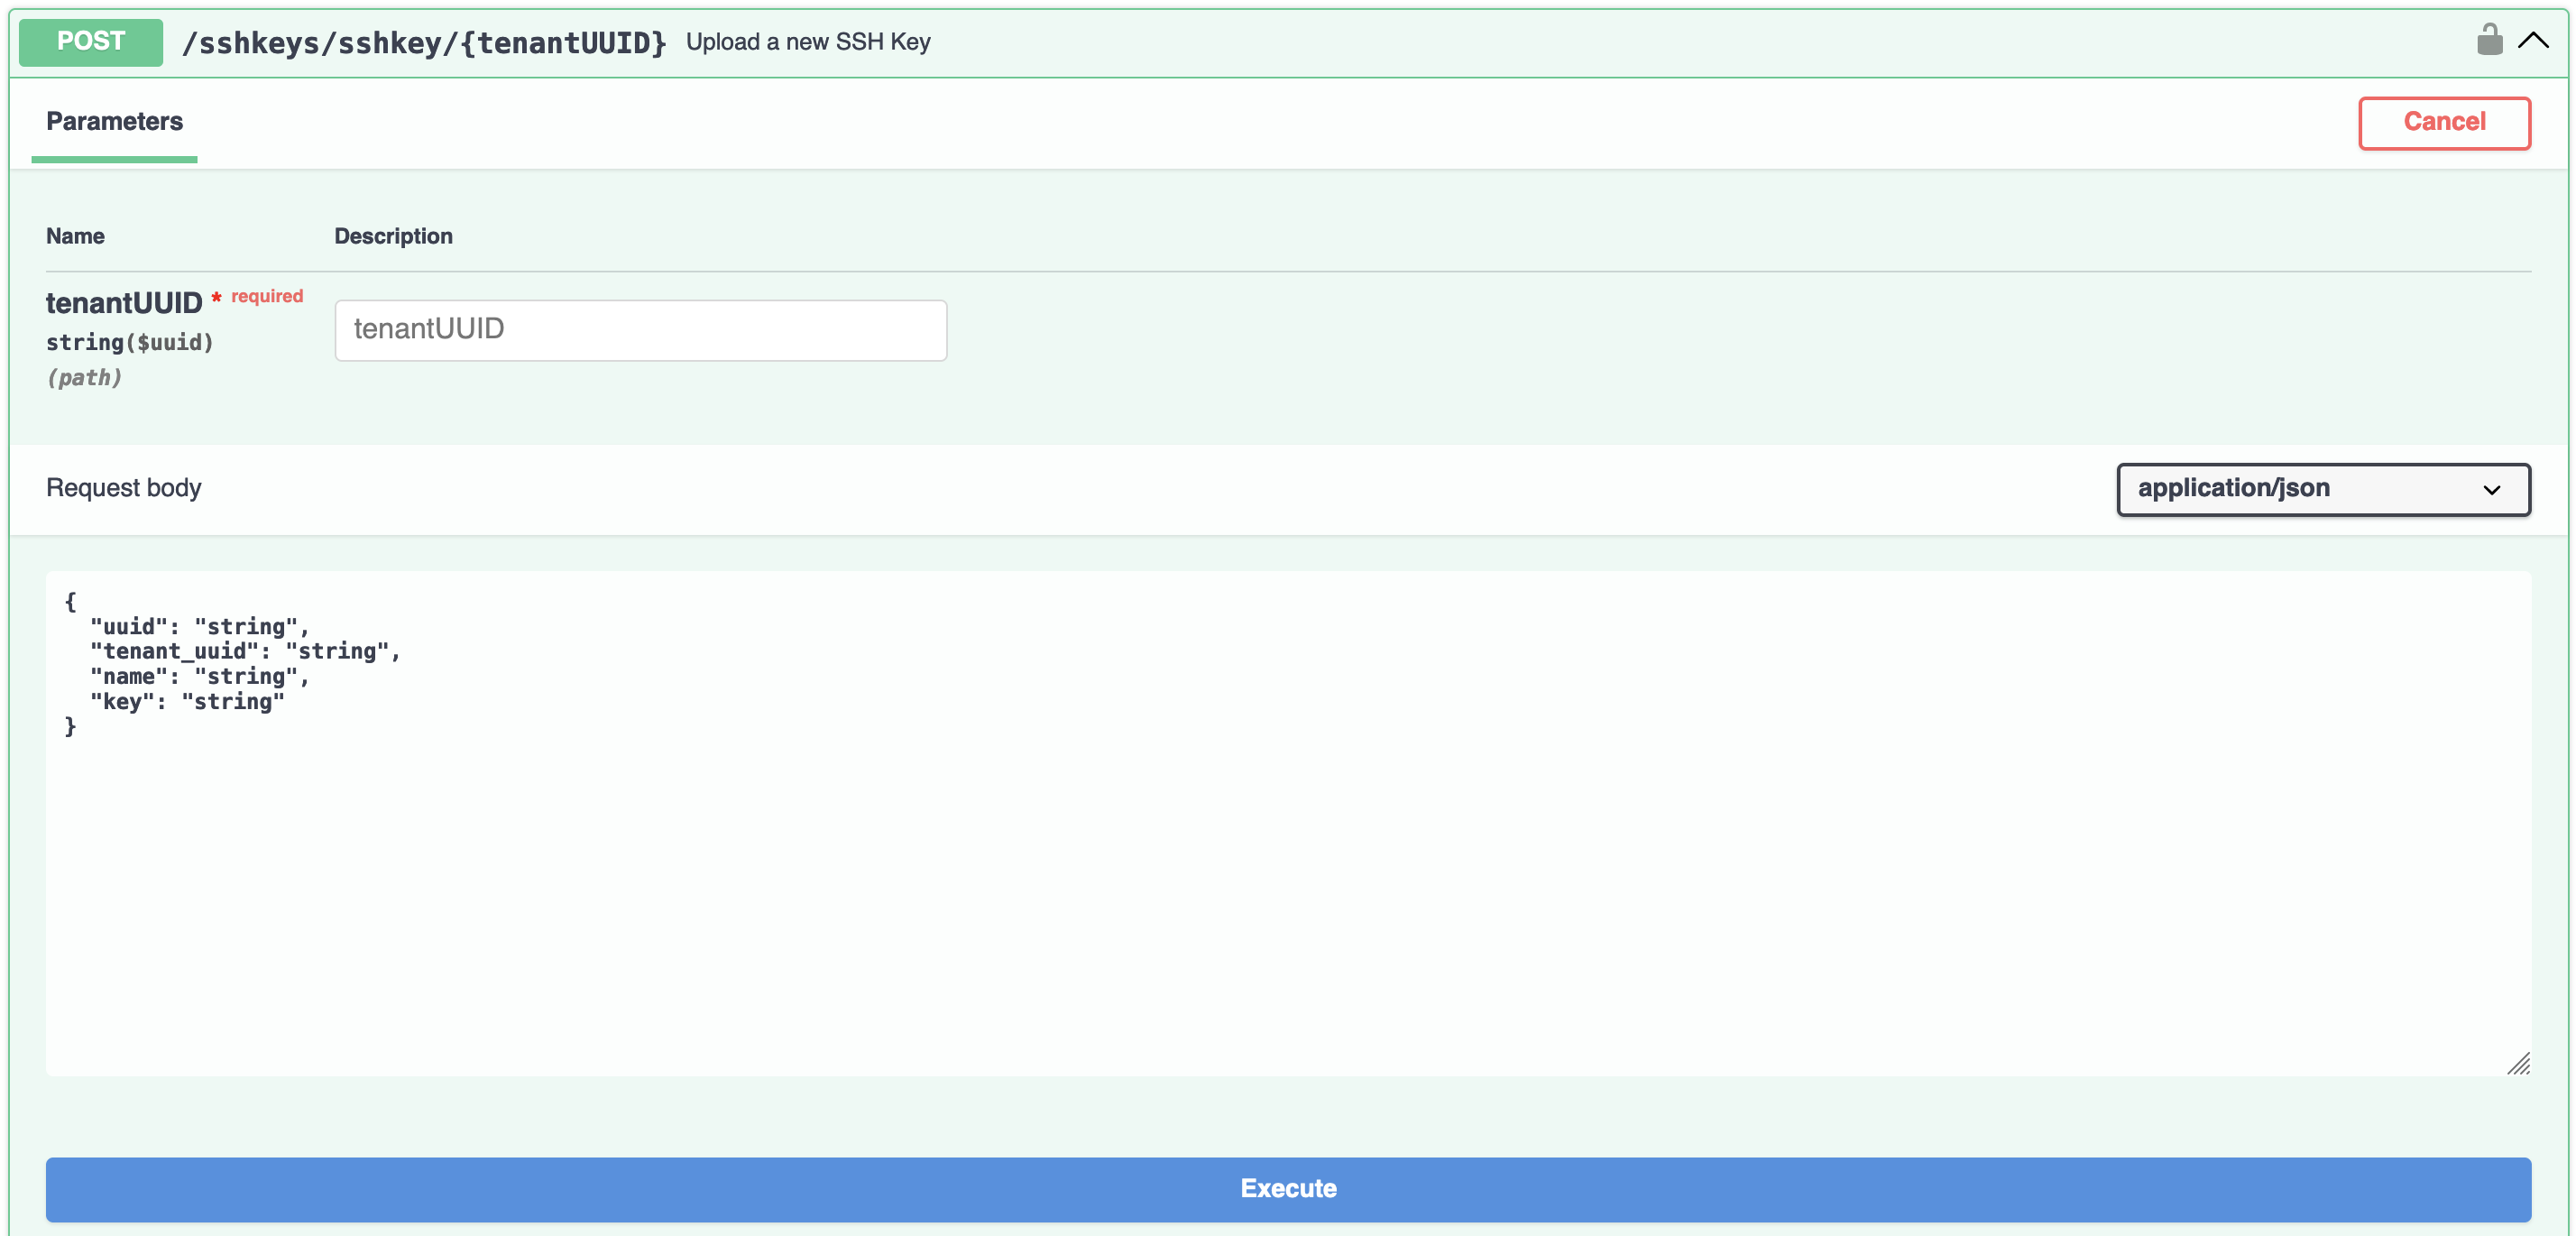
You can upload your SSH-key via the POST /SSHkeys/SSHkey/{tenantUUID} API call. If you don’t have an ssh-key yet, this guide explains how to create one.

Request template to upload an ssh-key
As the key’s uuid is not assigend yet, the value of the respective field must be null (make sure to remove the quotes!). The uuid will then be automatically assigned to the ssh-key object after the request is sent.
In the key field, please enter the public key of your ssh-key pair.
The tenantUUID is the unique identifier of your tenant. This has to be the same value for all components!
After clicking on Execute, the response will look like this:

Response after successfully uploading an ssh-key
Create a network
A new network can be created via the POST /network/networks/{clusterUUID}/{tenantUUID} API call. Remember to use consistent values for clusterUUID and tenantUUID!
The uuids can be found via the GET /info API call. Please make sure to use the cluster ndcloud-underground (Norway) for the RTX A6000-flavors and the cluster ndcloud-arcticcircle (Sweden) for the A100-flavors! The response will look like this:

Response after successfully creating a network
Create an IPv4 address
A new IPv4 address can be created via the POST /network/ipv4/{clusterUUID}/{tenantUUID} call. Remember to use consistent values for clusterUUID and tenantUUID!
The response will look like this:

Response after successfully creating an IPv4 address
Create a Virtual Machine (VM)
In order to create a VM, you need to have uploaded an ssh-key, created a network and (optionally) an IPv4 address. Keep their uuids at hand – they will be required in the next step!
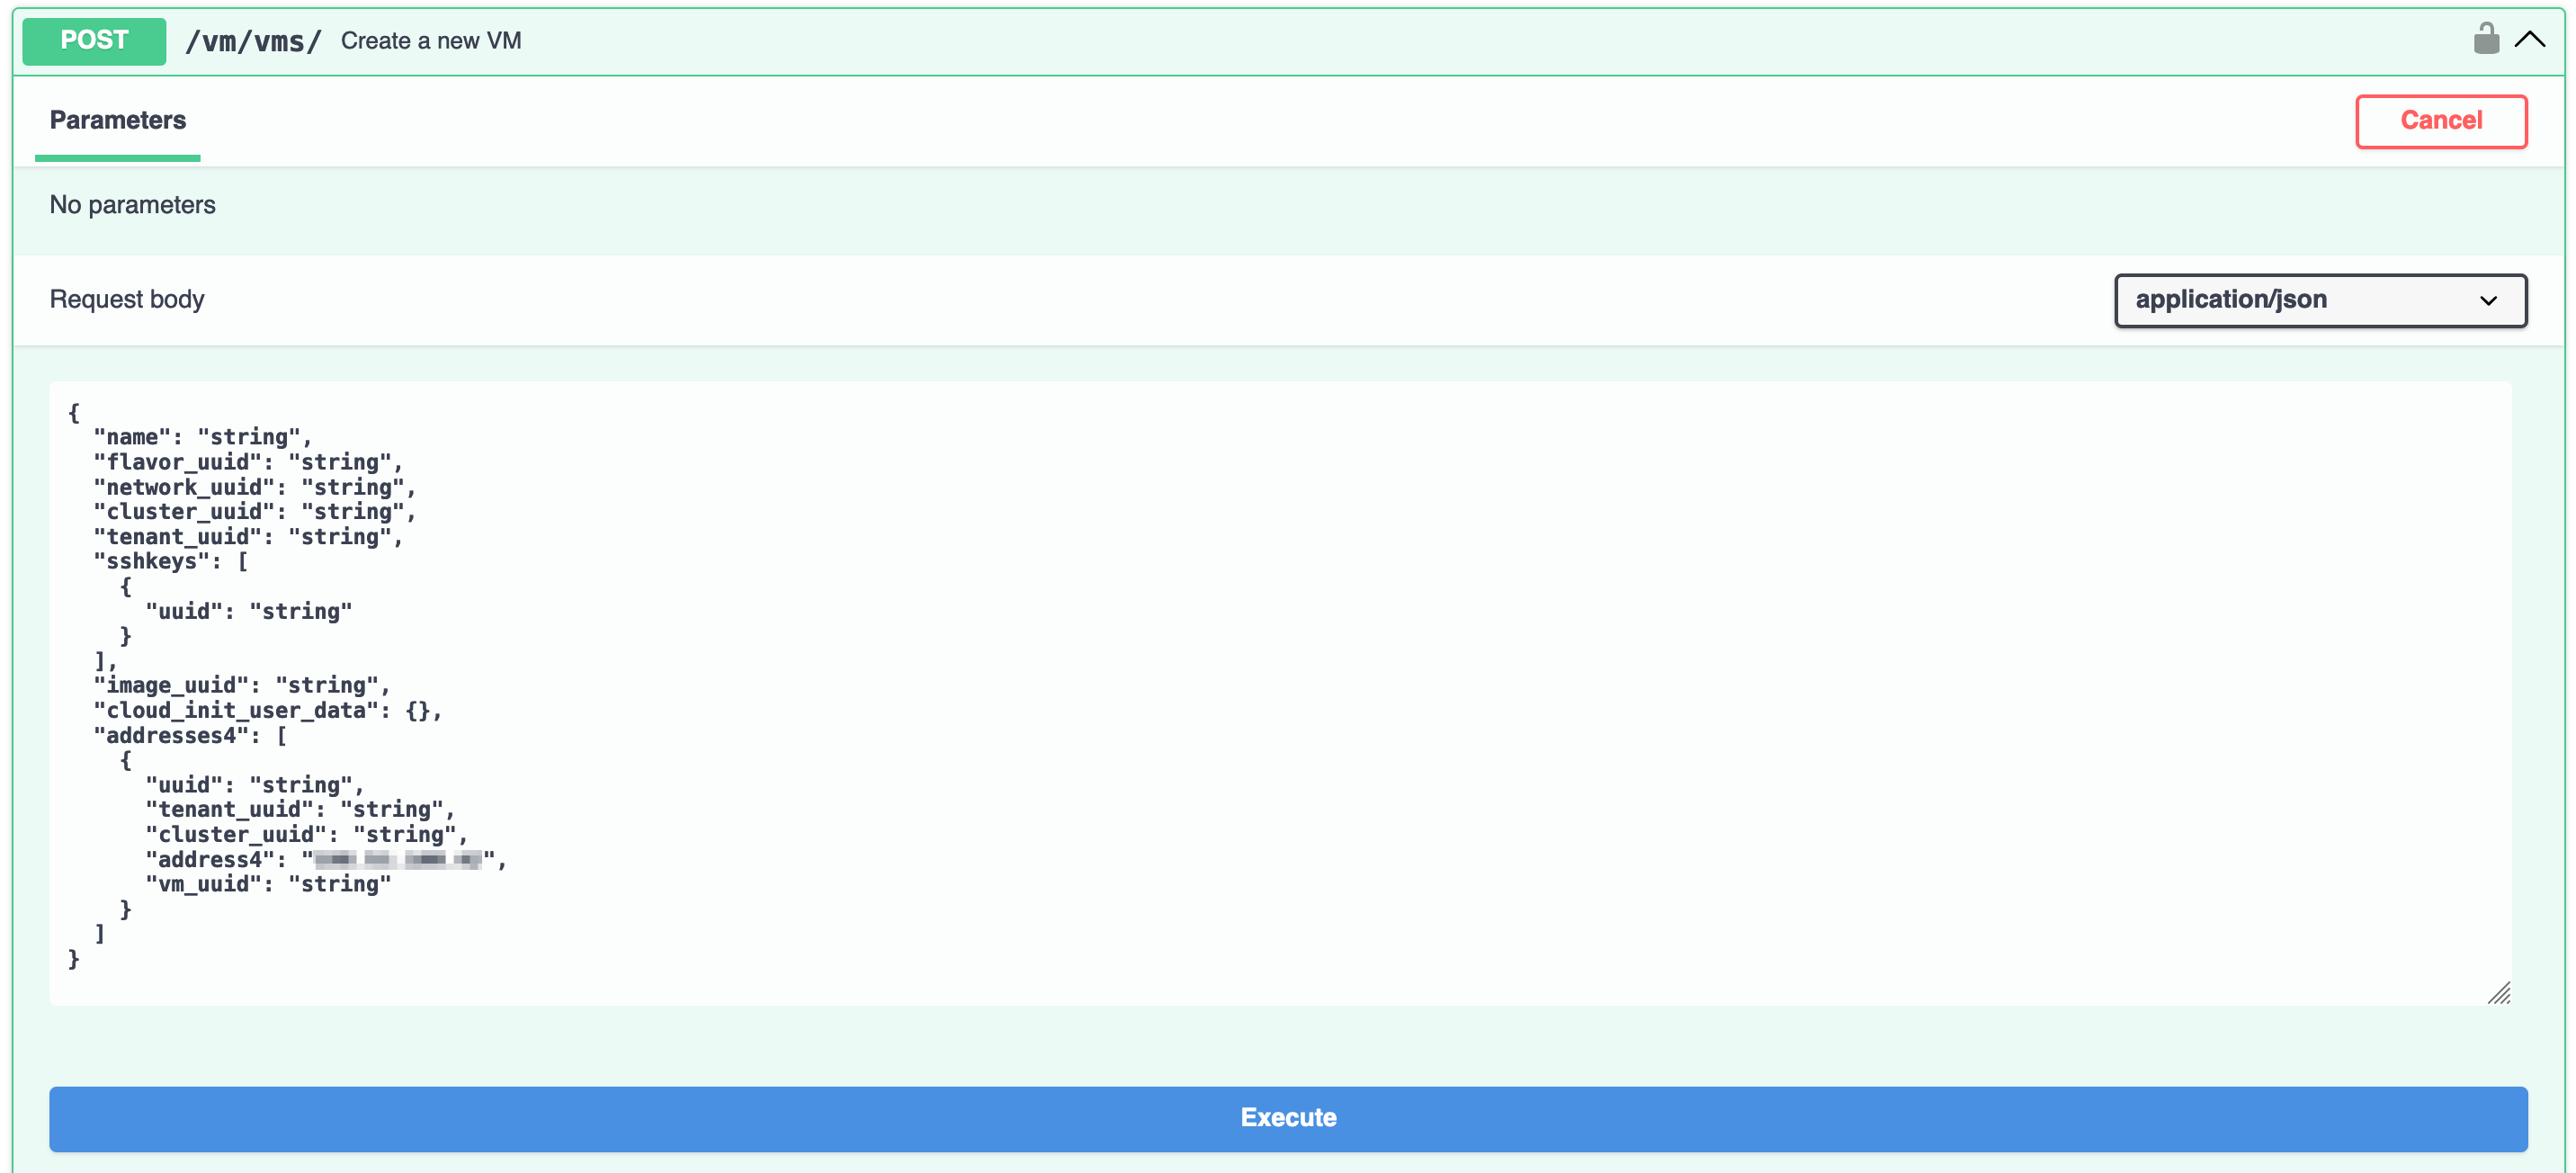
The POST /vm/vms/ API call provides a default template including placeholder values which need to be replaced:

Request template to create a VM
The name can be any value. Just make sure that the names are unique for each VM!
The flavor_uuid can be found via the
GET /info/flavorsAPI call.The network_uuid can be found via the
GET /network/networks/{tenantUUID}API call. The response can contain multiple networks. Choose the one which is in the same cluster as your VM.The cluster_uuid identifies the available clusters. Please make sure to use the ndcloud-underground (Norway) cluster for the RTX A6000-flavors and the cluster ndcloud-arcticcircle (Sweden) for the A100-flavors!
The tenant_uuid is the same as previously used to create all other components of this VM.
The sshkeys field contains a list of dictionaries where one dictionary represents one ssh-key. The ssh-key uuid can be found via the
GET sshkey_/sshkeys/{tenantUUID}API call. Keep in mind that it's possible to add multiple ssh-keys at once!The image_uuid can be found via the
GET /info/imagesAPI call. The response contains multiple images. Select the that suits your applications!Under cloud_init_user_data, you can add data that is passed to the VM before startup (e.g., IPv4 address configuration). The official cloud-init documentation can be found here. Make sure to keep the JSON format!
The addresses4 field contains the IPv4 addresses (a list of dictionaries) that you want to attach to your VM. Per IPv4 address, simply post the response body of the Create an IPv4 address section above. Make sure to remove the prefix (/XX part) of the IPv4 address! Since the VM does not have a vm_uuid yet, the value of the corresponding field remains null (make sure to remove the quotes!).
NOTE: All VMs will have public IPv6 addresses assigned to them per default. If the connection to the VM via IPv6 is not working, local network settings may have to be adjusted!

